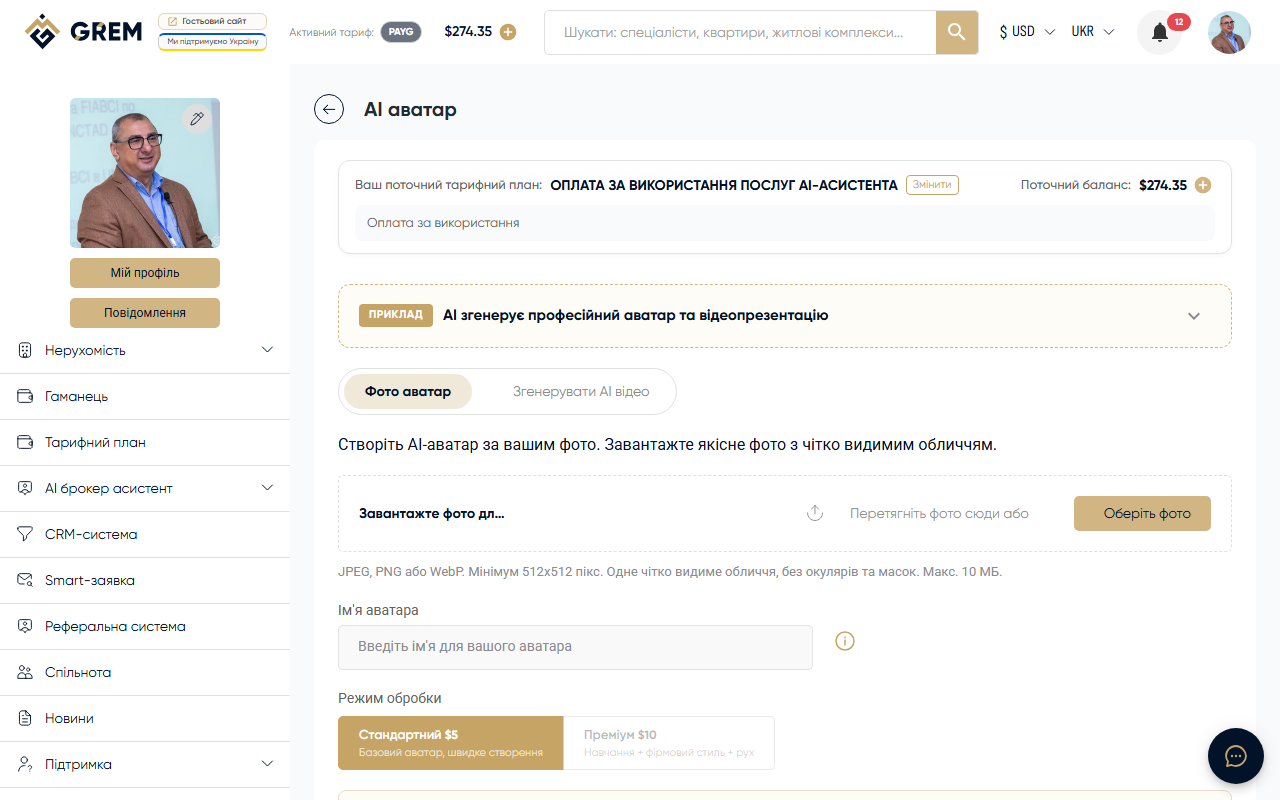
What It Is
AI Avatar is a tool for creating video presentations with a virtual presenter. The AI avatar narrates a script in your chosen language over photos of your property.
This is the most expensive AI tool on the platform. Check your wallet balance before starting generation.
Avatar Types
Standard Avatars
Ready-made avatars from the built-in library. Over 30 options are available with a gender filter. No additional setup required.
Photo Avatars
Personalized avatars created from your photos. To create one:
- Upload a high-quality headshot (front-facing, even lighting)
- Confirm consent for image usage
- Wait for processing
A photo avatar looks like a real person and increases trust in the video.
Voiceover
AI Voice
Automatic script narration with a synthesized voice:
- 6+ language support
- Voice filter by gender and language
- Natural sound with proper intonation
Custom Audio
Upload your own audio file with the script narration. Useful when you need a specific voice or delivery style.
Video Background
Available background options:
- White background — neutral solid-color background
- Property photo — one of your property photos as a static background
- Slideshow — automatic cycling through property photos during the video
- Property video — property video as background
- Upload — your own custom file as background
How to Use
Creating a Video
- Go to Tools > AI Avatar in the dashboard
- Select the avatar type (standard or photo avatar)
- Write a script or paste existing text
- Choose the language and voice for narration
- Configure the background
- Click "Generate"
Script Editor
Built-in text editor for script preparation:
- Manually type or paste text
- One-click script translation to other languages
- Preview text before generation
Result
After generation, you receive:
- A finished video for download
- Browser playback option
- Shareable link
Availability
| Platform | Path | Status |
|---|---|---|
| Dashboard (web) | Tools > AI Avatar | Full support |
| Mobile app | — | Not available |
Pricing
AI Avatar is billed per generated video. Cost depends on duration and avatar type. Funds are deducted from your GREM wallet balance. More details: pricing plans.
Start with a short script (30-60 seconds) and a standard avatar to preview the result before creating longer videos.